How to cancel a current recording
This help topic only applies to customers on the Innovative Platform.
For a relevant topic on the Minerva platform, click here.
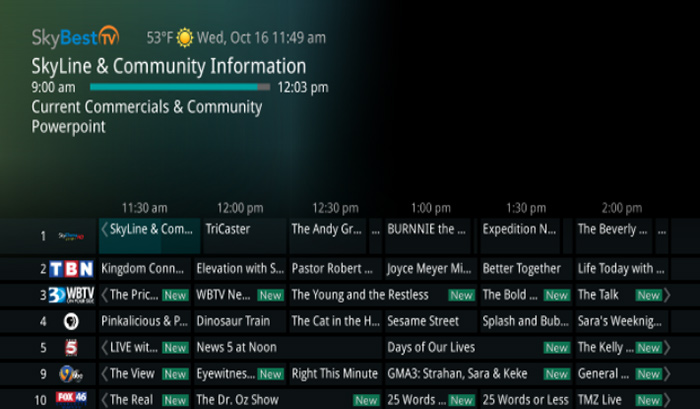
You are on the Innovative Platform if your guide looks like this:
From GUIDE
-
Locate the program you would like to cancel using the arrow buttons on your remote.
-
While on the program channel, click the RECORD button to pull up a menu.
-
Using the arrow buttons you can choose to: “Keep Recording,” “Stop Recording and Keep,” “Stop Recording, Keep and Protect,” or “Stop Recording and Delete”
-
“Keep Recording”: Continue recording the program and do not cancel it.
-
“Stop Recording and Keep”: This will stop recording the program and will save it to your “Current Recordings".
-
“Stop Recording, Keep and Protect”: This will stop recording the program, save it to your “Current Recordings” and will ensure that it isn’t automatically deleted if you run out of space on your DVR.
-
“Stop Recording and Delete”: This will immediately stop the recording and prevent it from saving to your DVR.
-
From MENU
-
Click the MENU button on your remote.
-
Use the arrow buttons to scroll down to “Recordings” and select it using OK.
-
Click OK again to select “Current”.
-
Use the arrow buttons to scroll to the current program you would like to stop recording.
-
Once you have found the program, use the red button to pull up a menu.
-
Select “Delete this recording” using OK.
-
Click the EXIT button to return to your program.
Not quite right?
Check out these other popular search topics: