How to record a show or set a reminder
This help topic only applies to customers on the Innovative Platform.
For a relevant topic on the Minerva platform, click here.
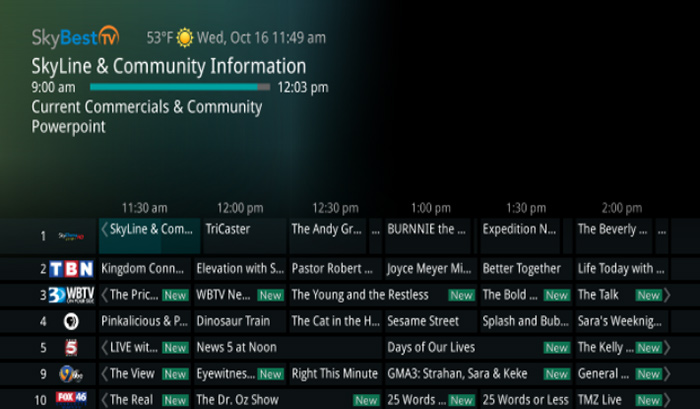
You are on the Innovative Platform if your guide looks like this:
RECORDING A PROGRAM
- To record a program you are currently watching or in the GUIDE, simply hit the RECORD button on the remote control.
- This will display a menu with many different options on it.
- There are three options at the top that are: “One-Time”, “Series,” or “Reminder.”
- These options refer to how many times you want to record a particular program.
- To record just a single episode of a show, select “One-Time”
- To record an entire series, select “Series”
- To have your STB notify you when a specific show is going to come on, select “Reminder”
RECORDING "ONE-TIME"
-
If you have chosen to record a show “One-Time,” you have the option to choose when you want the recording to start and stop, where you want to store the recording, and if you want the program to record from the start.
-
To adjust when you want the program to start and stop, just use the up/down directional arrows on the remote control to scroll over either “Start Recording” or “Stop Recording.”
-
You can change the time you would like the program to start or stop by using the left/right arrow buttons. a. Please note: If “Record From Start” is turned to “Yes” you will be unable to access the “Start Recording” feature.
-
After you have selected the start and stop time for the recording, you can pick where there recording will be stored by using the up/down arrow buttons and scrolling to “Folder.”
-
Using the left/right arrow buttons, you can decide which folder you would like the recording to be stored in. (The default folder will always be “All Recordings”)
-
Finally, you can decide if you want the recording to record from the start (on programs that are eligible for this feature.)
-
To do this, you can use the up/down arrow buttons on your remote to scroll to “Record From Start.”
-
You may then choose between “Yes” or “No” using the left/right arrow buttons.
-
To complete the recording process you will scroll down to “Create One-Time Recording” and hit the OK button.
RECORDING "SERIES"
-
If you have chosen to just record a “Series,” you have the option to choose how many episodes are kept at any time, what type of episodes you will record, the start and stop time of the recordings, and where the recordings will be stored.
-
The “Keep at Most” option allows you to determine the maximum number of episodes of a particular show that will be kept on your DVR at any given time.
-
This can be adjusted by using the left/right directional keys on your remote control.
-
The “Show Type” feature gives you the ability to determine if you will record every airing of a show with “All” or only new episodes with “New.” This can also be changed with the left/right arrow buttons.
-
The “Start Recording” and “Stop Recording” options give you the ability to decide how far before or after you would like to record the show. These may be adjusted with the left/right arrow buttons.
-
The “Folder” feature will let you determine where you want to store your recordings of the selected show. Using the left/right arrow buttons, you can decide which folder you would like the recording to be stored in. (The default folder will always be “All Recordings”)
-
To complete the recording process you will scroll down to “Create Series Recording” and press the OK button.
Not quite right?
Check out these other popular search topics: